Description
Description
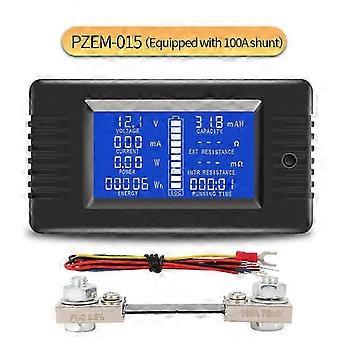
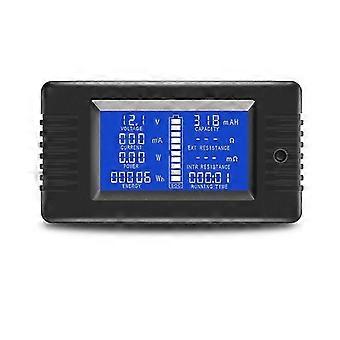
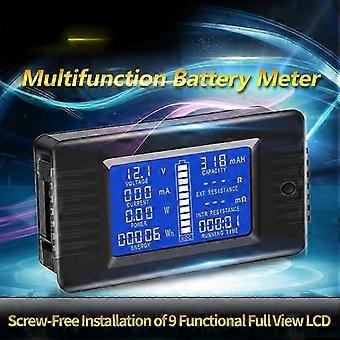
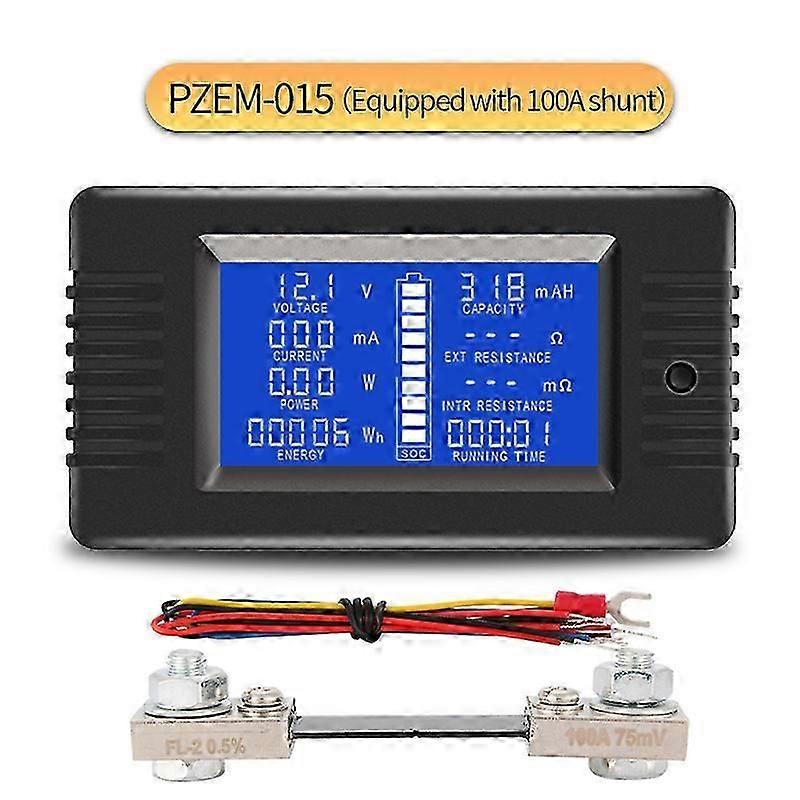
This document describes the specification of the PZEM-013/015 DC multifunction battery tester, this meter is mainly used to test all kinds of batterys voltage, discharge current, discharge power, discharge impedance, internal resistance, capacity, dump energy, energy consumption and running time, and display the measurement data through LCD screen. PZEM-013: Measuring Range 10A (Built-in Shunt) PZEM-015: Measuring Range 300A (use external shunt, can matched with 50A, 100A, 200A, 300A four kinds of shunt). 1. Function description 1.1 Voltage 1.1.1 Measuring range: 0-200V. (when the test voltage is le than 8V, please use the independent power supply mode) 1.1.2 Display format: le than 10V display as: 9.99V le than 100V display as: 99.9V greater than 100V display as: 199V 1.1.3 Minimum resolution:0.01V 1.1.4 The starting test voltage: 0.05V 1.1.5 Measurement accuracy:1% 1.2 Current 1.2.1 Measuring range: 0-10A. (Type: PZEM-013) 0-300A(Type: PZEM-015) can set 50A, 100A, 200A,300A four range depend on the external shunt, the factory default is 100A. 1.2.2 Display format: le than 1A display as: 999mA
2.1.1 Set the full voltage: Step 1: In the normal display interface(like fig. 1), long pre the button until the LCD screen display the interface like fig. 2, then release the button
Step 2: SET character blink present it is the setting status of full / cut-off voltage, long pre the button until the LCD screen display the interface like fig. 3, then release the button. Step 3: At this time, the battery symbol display full grids energy means the full voltage setting status, factory default the full voltage is 020.0V, the numerical code circulation flashing from the low bit to the high bit show that the current setting digit, short pre to set the digit; please pay attention that, as the full voltage setting value has 4 digit, but the numerical code has only 3 digit, So the setting is divided into two parts: low bit (fig. 3) +high bit (fig. 4). For example, the default full voltage is 020.0V, then the display state is 20.0V to 020V low and high cyclic switching display. If you need to set the full voltage is 199.0V, then please set the low bit to 99.0V, when the cycle reaches the high bit, it will display 099V, and only the highest zero bit flicker to prompt it can be setted. Setting the high bit to 199V represents the full voltage is 199.0V.
2.1.2 Set the Cut-off voltage: Step 1: After you set the full voltage, loner pre the button until LCD shows the interface of Fig. 5, then release the button; Step 2: At this time, the battery symbol shows the zero-grid to indicate the cut-off voltage setting state, the default cut-off voltage is 016.0V, the setting method is the same as above; the cut-off voltage is 0.8 times of the full voltage by default, after setting the full voltage, the cut-off voltage is automatically generated in the relationship of 0.8 times; otherwise, you can reset it; After all the above settings are completed, long pre the button until the settings are saved and exit the setting status, restore the normal display interface. 2.2 Current range setting (Only for PZEM-015)
Step 1: In the normal display interface, long pre the button until the LCD shows the interface of Figure 2, then release the button, short pre the button again switch to the interface to Figure 7, it indicates that this state is the current range setting state.
Step 2: Longer pre the button until the LCD shows the interface of Figure 8, then release the button, short pre the button again to switch the current range. This meter provides four current ranges, factory default is 100A, choose the corresponding range according to the shunt. Step 3: After the current range setting is completed, long pre the button until the settings are saved and exit the setting status, restore the normal display interface. 2.3 Clear the Energy
Step 1: In the normal display interface, long pre the button until the LCD shows the interface of Figure 2, then release the button, short pre the button again switch to the interface to Figure 9, it indicates that this state is the clearing energy setting state. Step 2: Longer pre the button until the data has been cleared and exit the setting status, restore the normal display interface. 2.4 Clear the capacity
Step 1: In the normal display interface, long pre the button until the LCD shows the interface of Figure 2, then release the button, short pre the button again switch to the interface to Figure 10, it indicates that this state is the clearing capacity setting state. Step 2: Longer pre the button until the data has been cleared and exit the setting status, restore the normal display interface. 2.5 Clear the running time
Step 1: In the normal display interface, long pre the button until the LCD shows the interface of Figure 2,then release the button, short pre the button again switch to the interface to Figure 11, it indicates that this state is the clearing running t
-
Fruugo ID:
436968243-915802910
-
EAN:
9181532829459